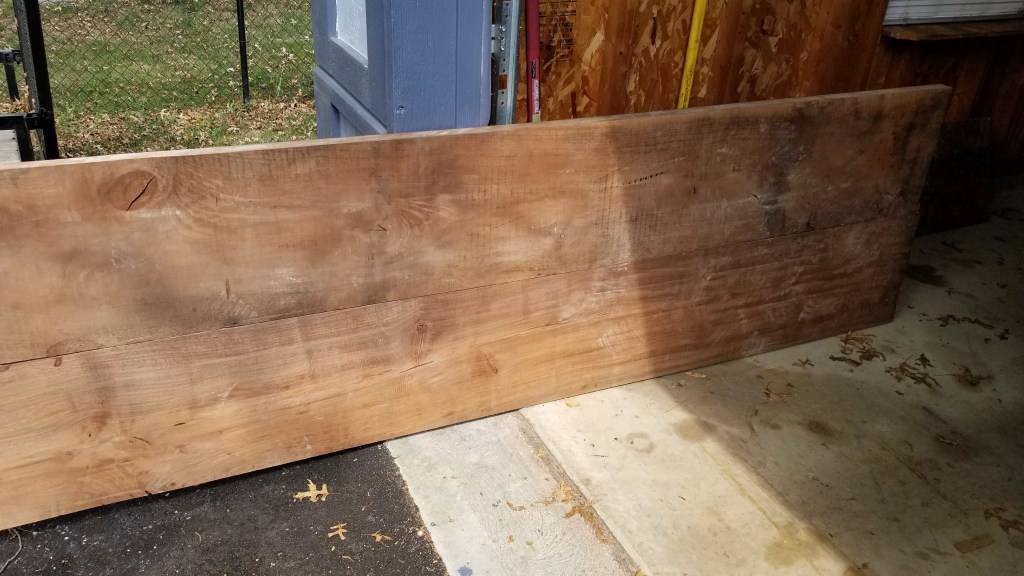
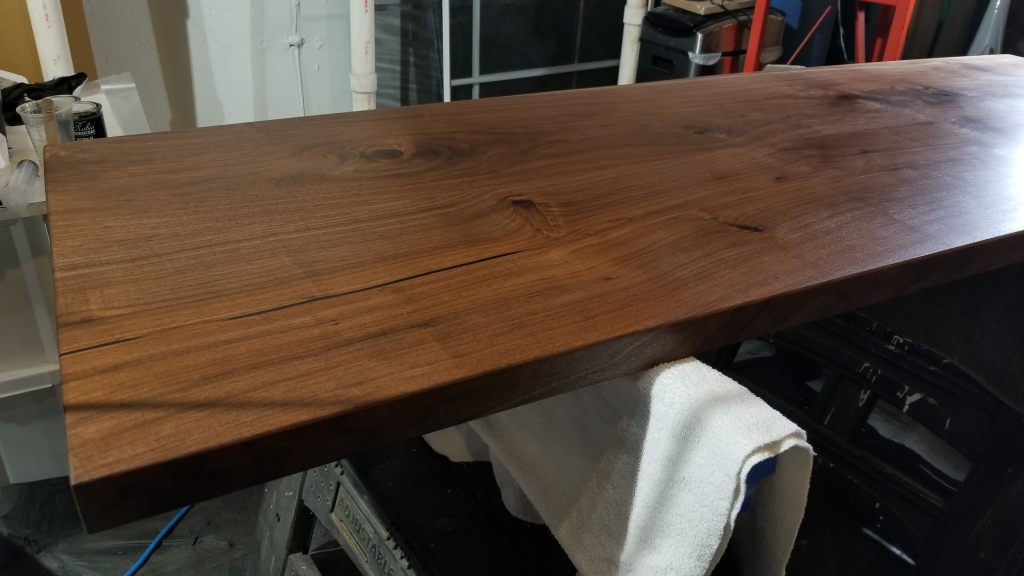
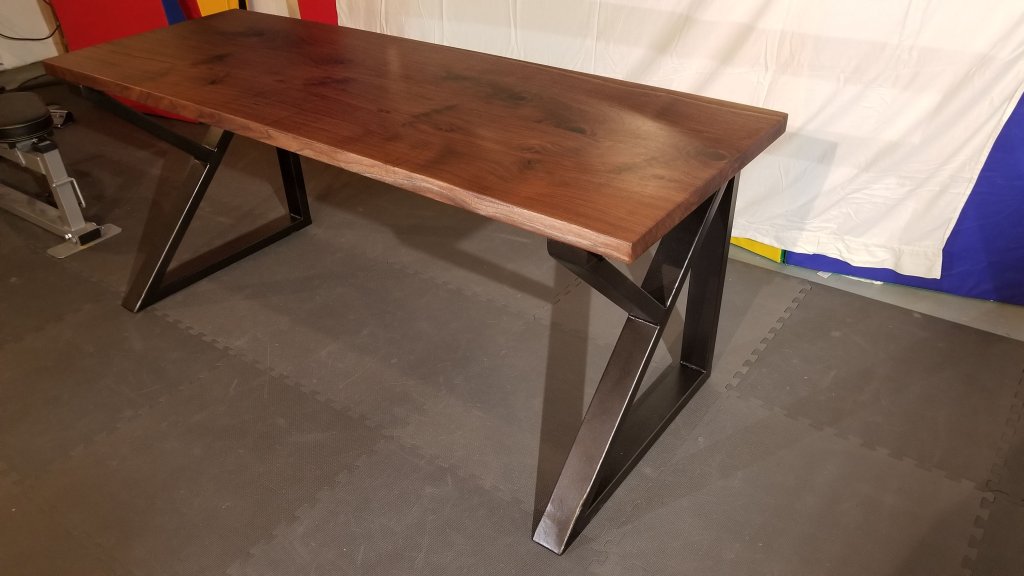
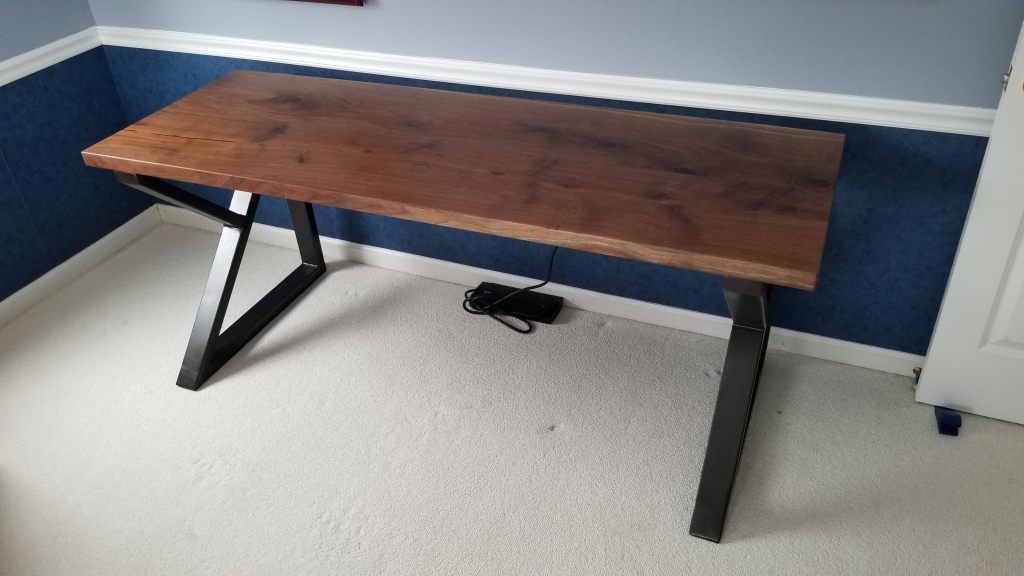
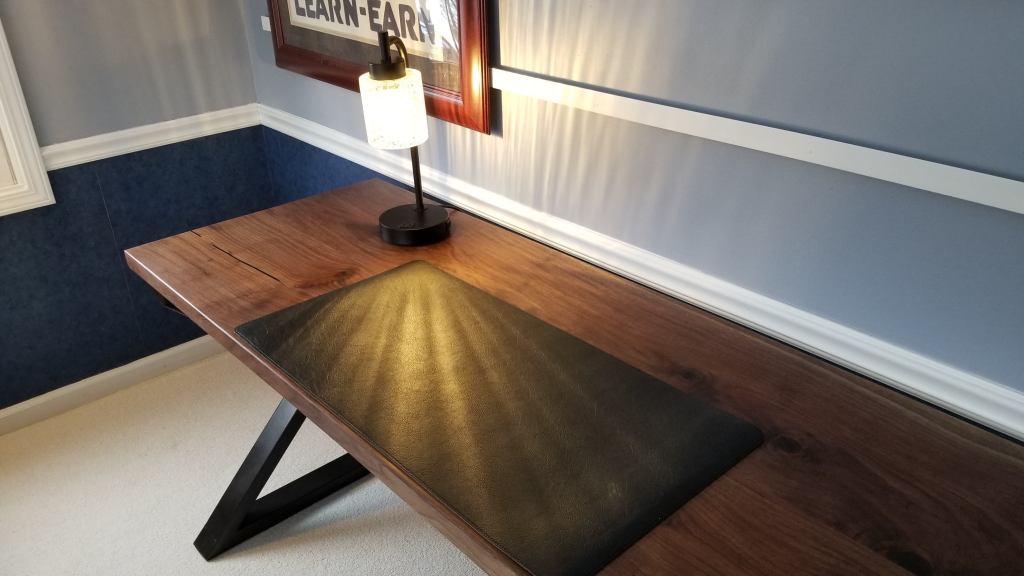
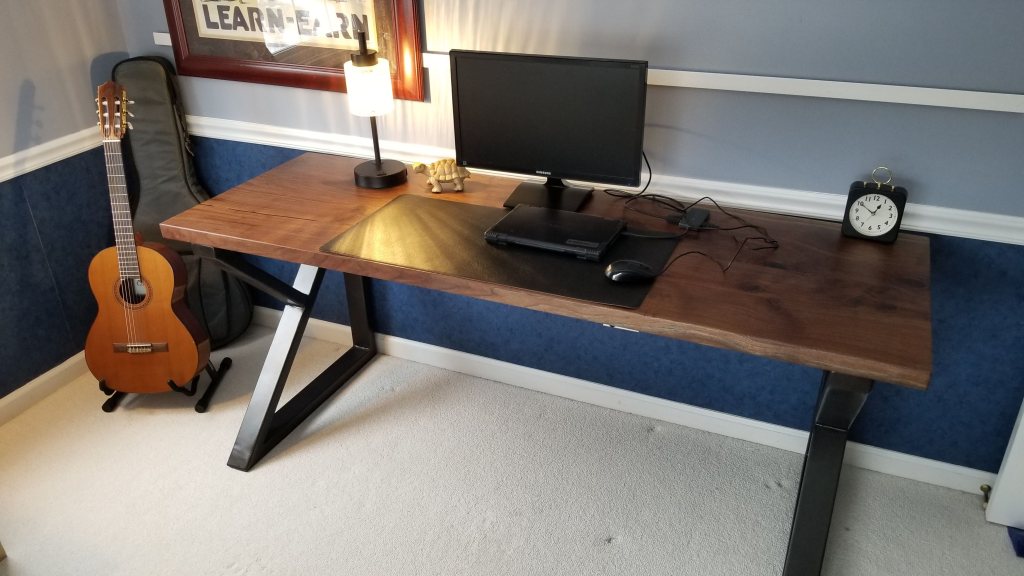
As we continued remote learning, it was clear that Andrew would benefit from a better desk situation. Luckily my uncle Rod graciously provided a wonderful slab of walnut to use. He is completely renovating this amazing octagon house in Indiana, and the house had this walnut slab that had been joined with a spline joint. This was a wonderful opportunity to build something using one of my favorite woods, walnut. For this desk, I wanted to find a new finish that can bring out the natural beauty of walnut, so began researching, and watching several different methods from Youtube channels, especially Blacktail Studio. I finally decided to give Rubio Monocoat a try. Rubio Monocoat is a more expensive finish, but as promised a little bit goes a long way. I really enjoyed using Rubio Monocoat, and look forward to using it again in the future.
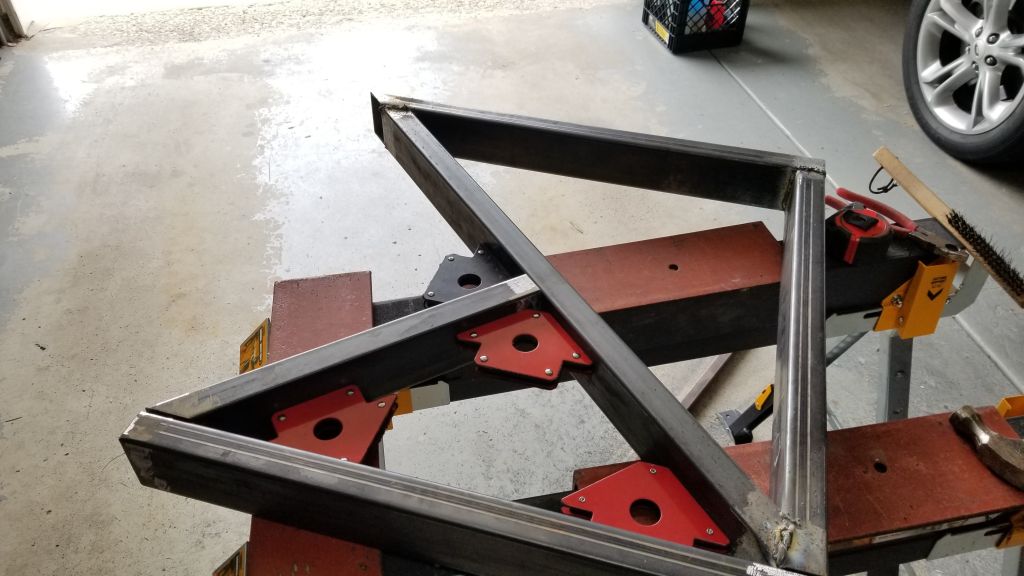
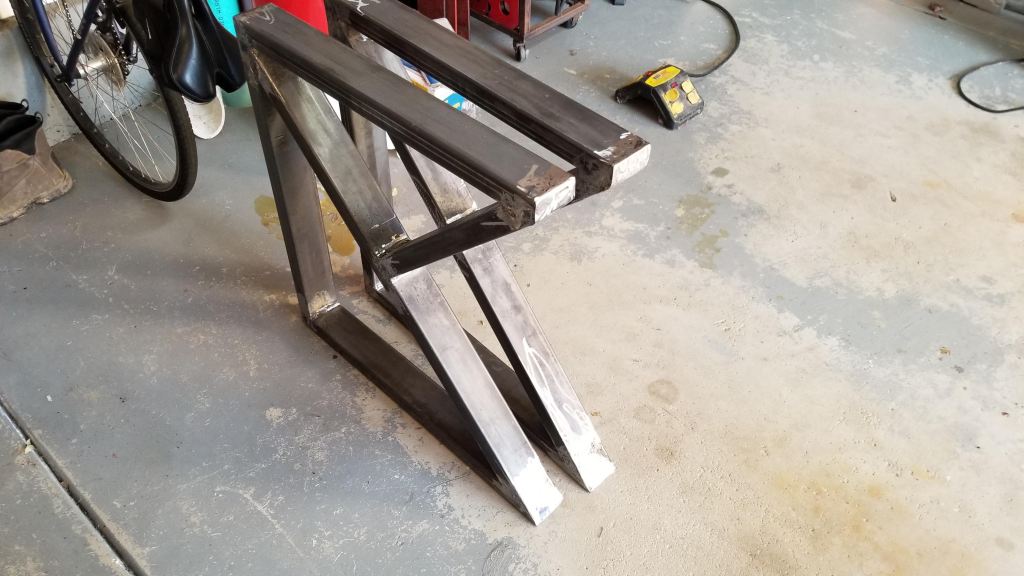
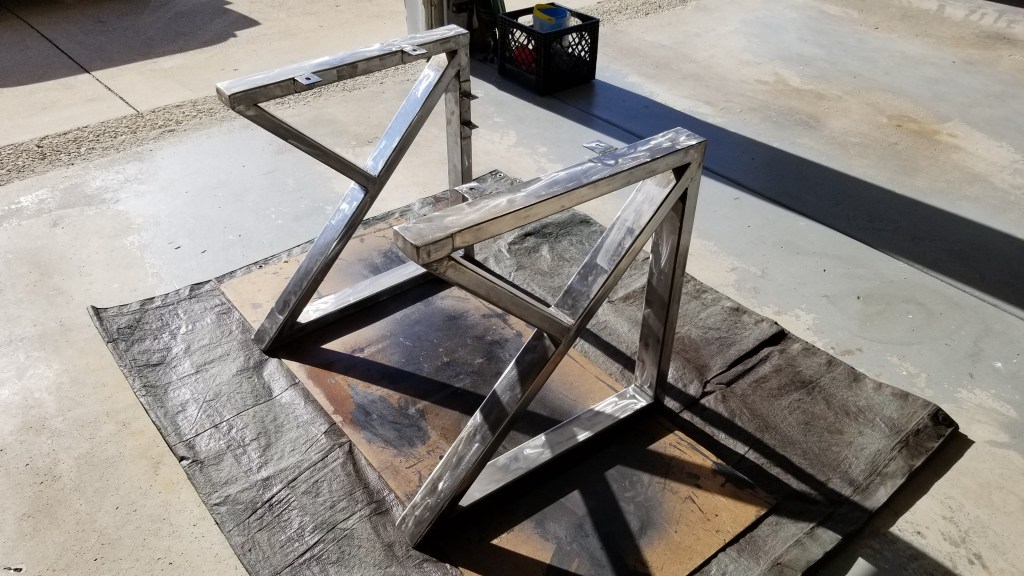
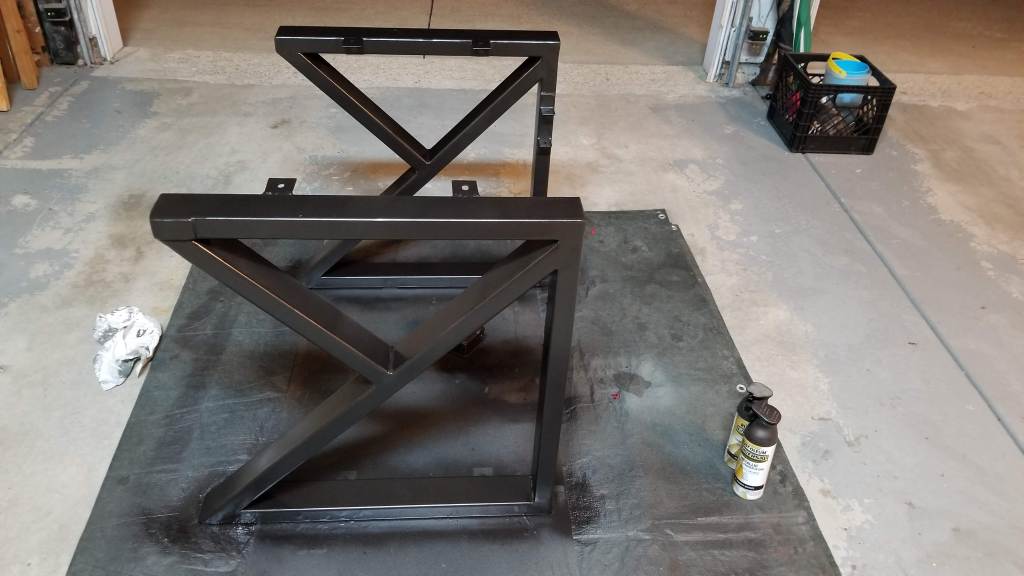
First, I decided to match the walnut with a steel base. I drafted a few different designs using square tubing, rectangular tubing, angle iron or rebar. Nothing really felt right until I explored using triangles as the basis of the legs. Once I started playing with triangles, I decided to prototype the legs with wood first, and that led me to the final design. I purchased 1.5 x 3 steel tube from Metal Supermarkets. To remove the mill scale, I used a new technique–vinegar, and was surprised how well this worked. Finding a tub large enough to soak the pieces required a purchase, but the vinegar removed the mill scale really well. For the places that need more, I used a Scotch-Brite Clean and Strip XT Pro Disc – Rust and Paint Stripping Disc and was very pleased with the Scotch-Brite disc. After a coat of primer, I used a favorite Rust-Oleum Oil Rubbed Bronze to paint the legs.
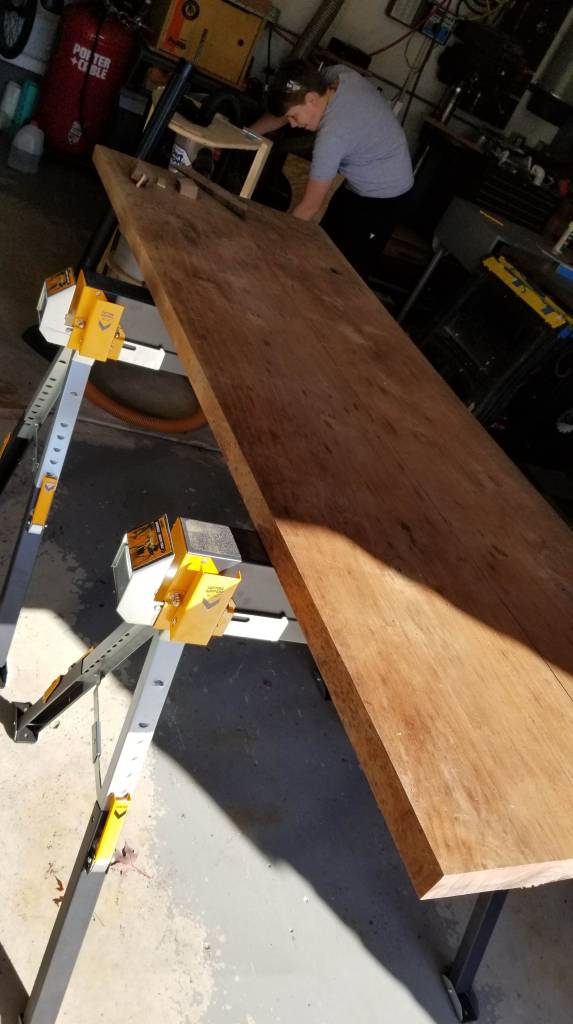
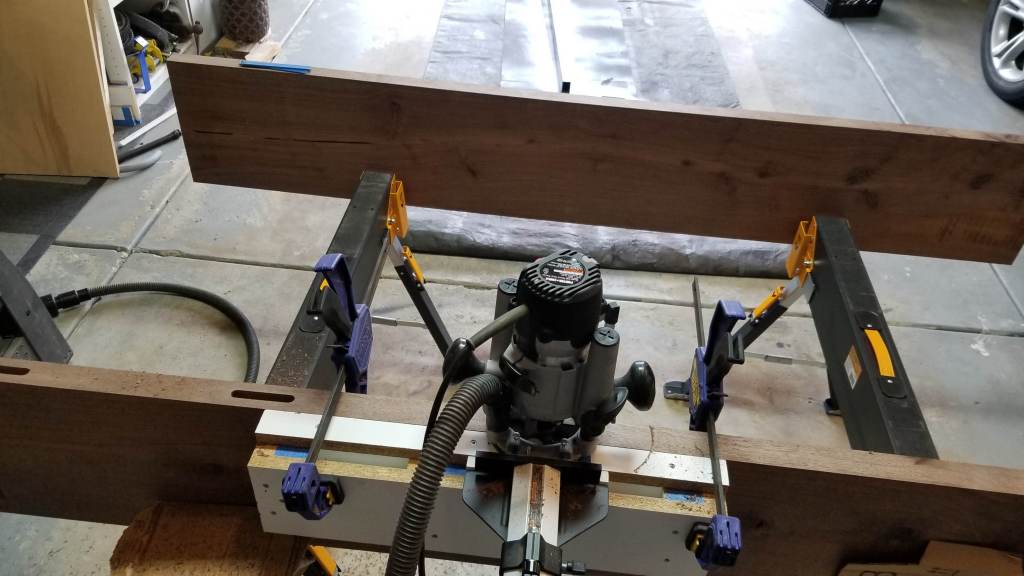
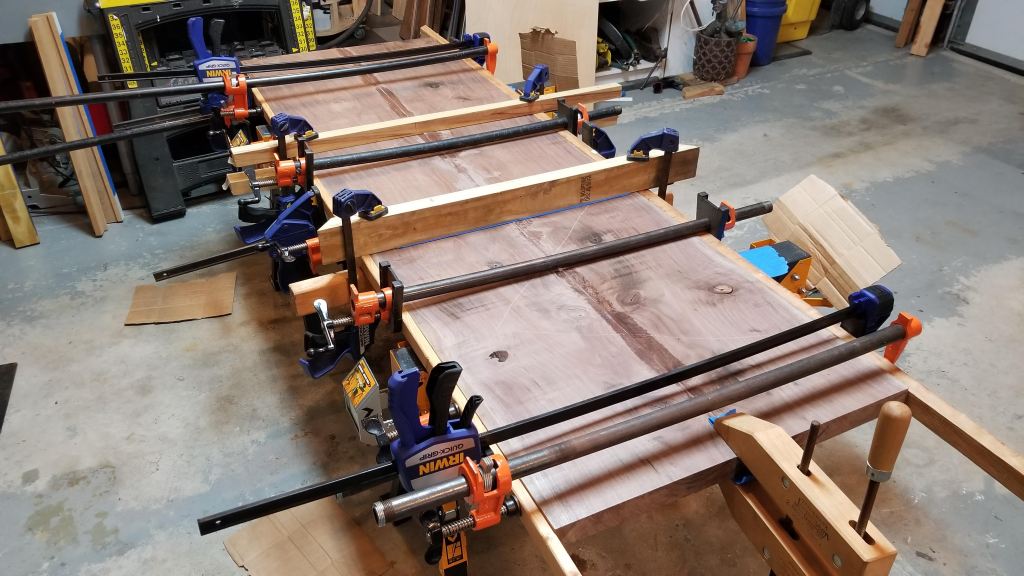
Moving on to the desktop, I split the slab and its existing joinery that was separating. The slab wasn’t perfectly even so Andrew and I planed the two pieces down. I used a floating tenon to join the desk together, mainly because I had the jig already from building the farmhouse table for my sister. The tenons helped with alignment during glue up, and are pretty easy with the jig already created. The glue up was fairly smooth with the tenons setting up the alignment, plenty of clamps and some cauls made using decreasing in size strips of painters tape on some scrap wood.
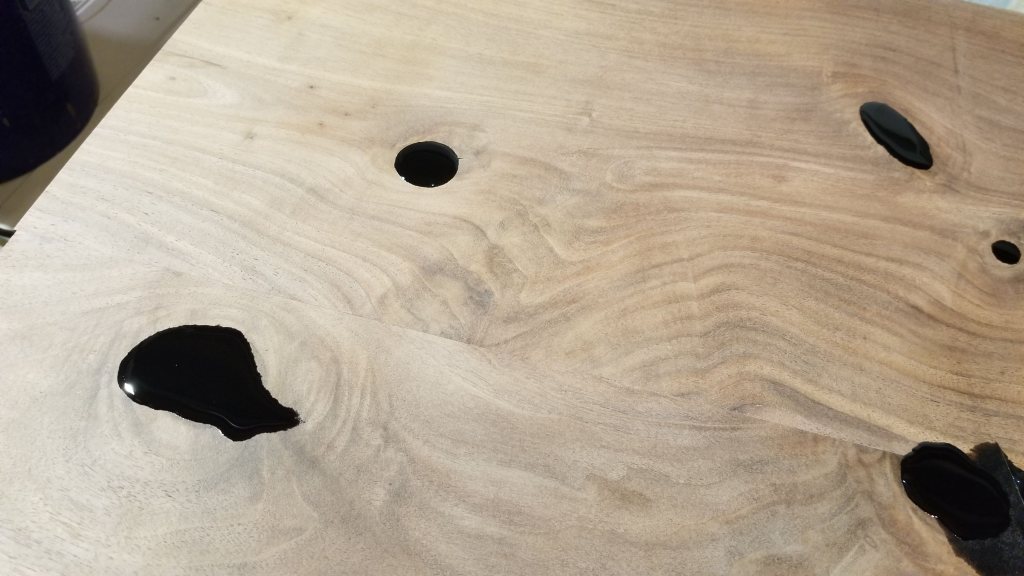
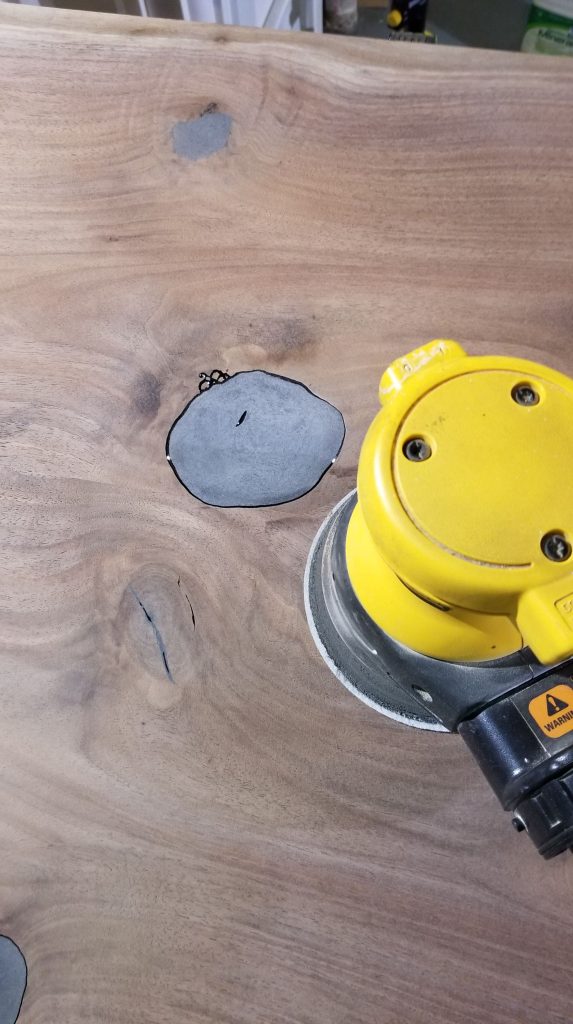
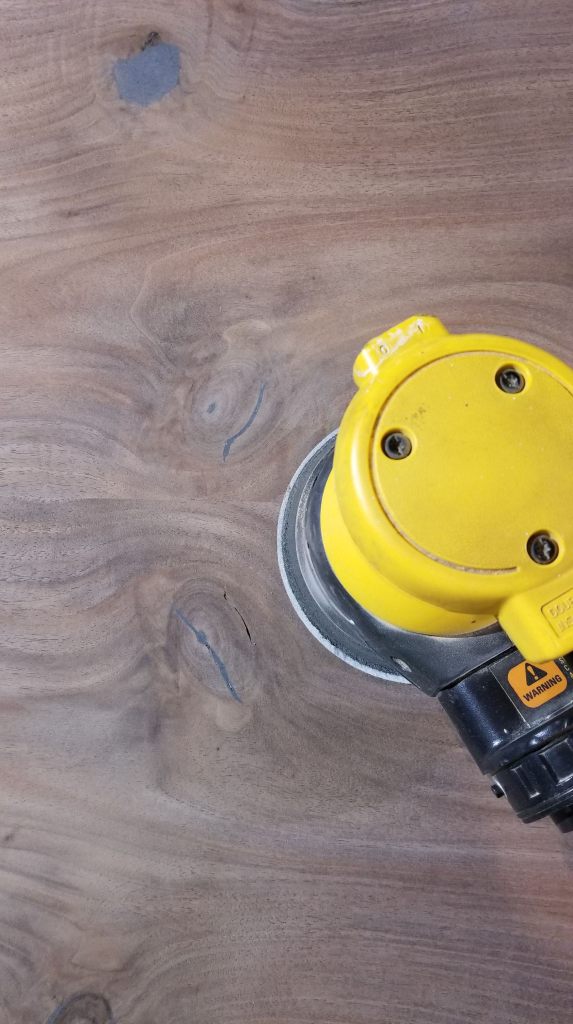
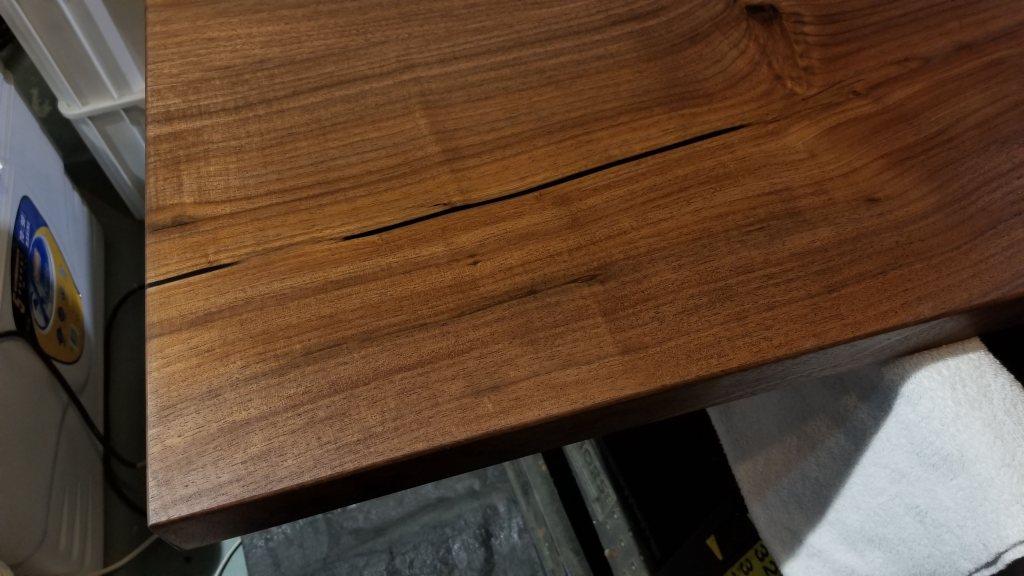
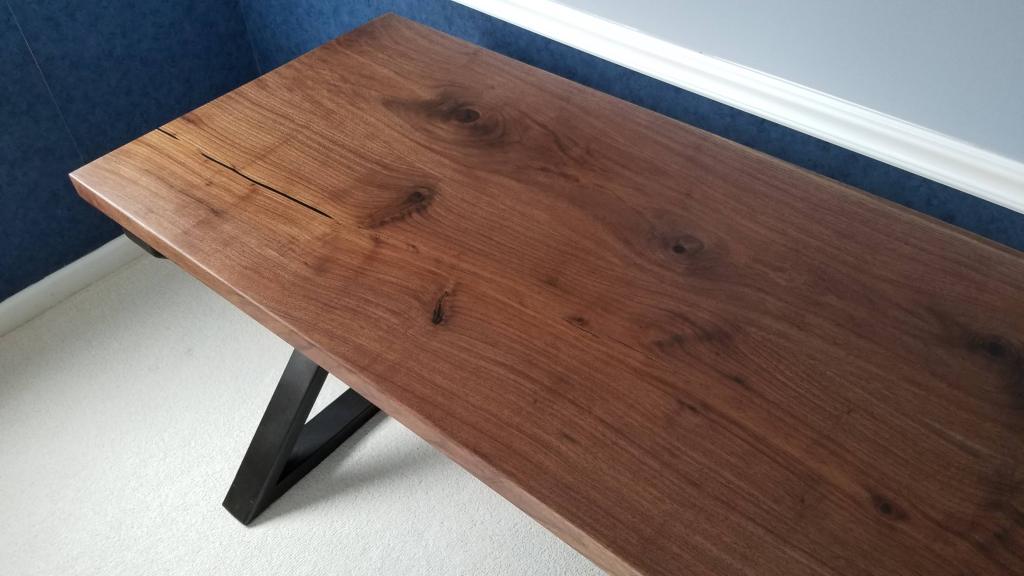
The top had numerous knots and cracks to fill. I used epoxy tinted with black dye and some black CA glue to fill any knots, gaps or cracks in the wood, then sanded to 180 to prepare for the Rubio Monocoat. I did decide to put a second coat of Monocoat on the top, using the method of sanding with a purple Scotch Brite pad before the 2nd coat.
To prepare the top to be attached to the legs, I did leverage 1/4 threaded inserts, drilling with a 10mm drill bit, using a bit of wood glue to lubricate while screwing them in. The 1/4 threaded inserts allow for the desk to be taken apart and moved, and the slots in the tabs on the legs allow for any expansion or contraction of the wood.
Very happy with how the desk turned out, the beautiful finish, and the overall look. Also very appreciative to my uncle for giving us the slab! Hopefully Andrew can use this desk for many years to come.