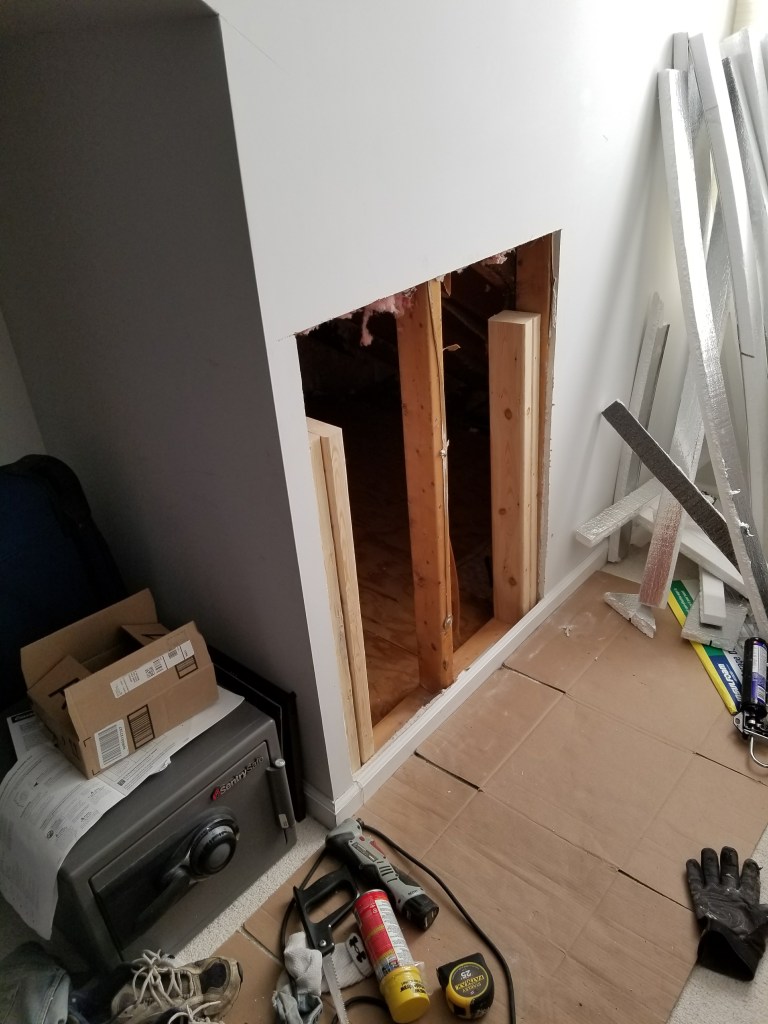
Our master bedroom partially sits above our garage, and as a result has always been noticeably colder than other parts of our upstairs. We have three dormers, and I wanted to add insulation between the floor joists, as I suspected that the insulation had settled, and within the dead areas under the roof besides our dormers. As that required accessing through the drywall, I decided to use that as an opportunity to also add some functioning storage and a way to deal with the ironing board.
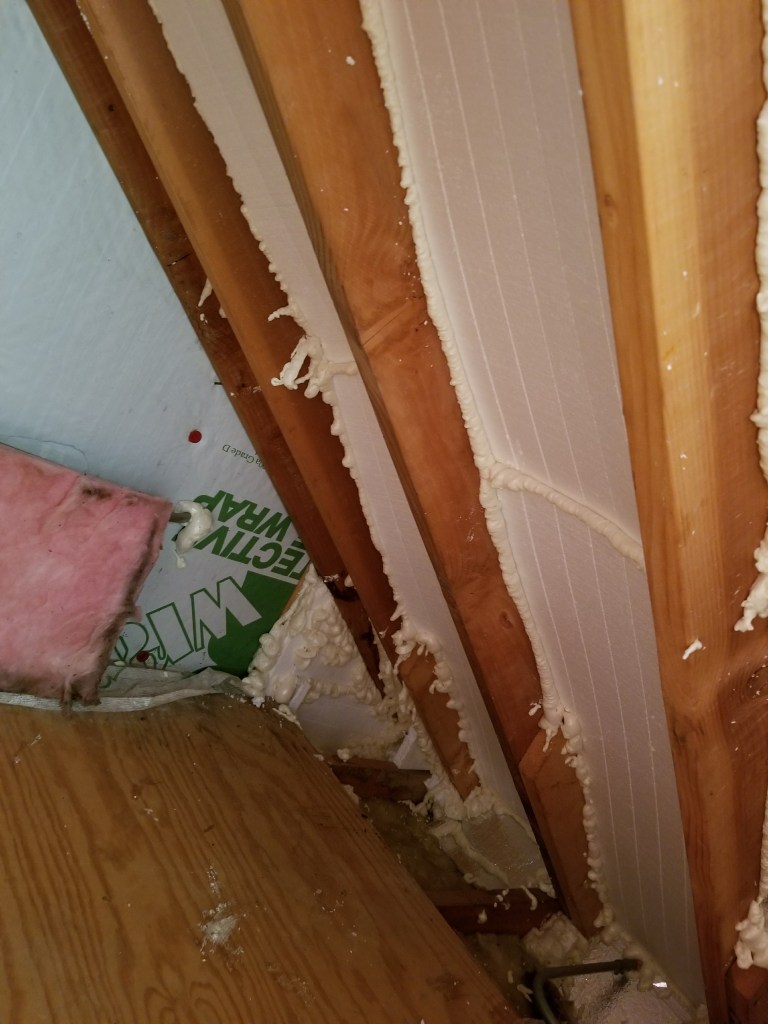
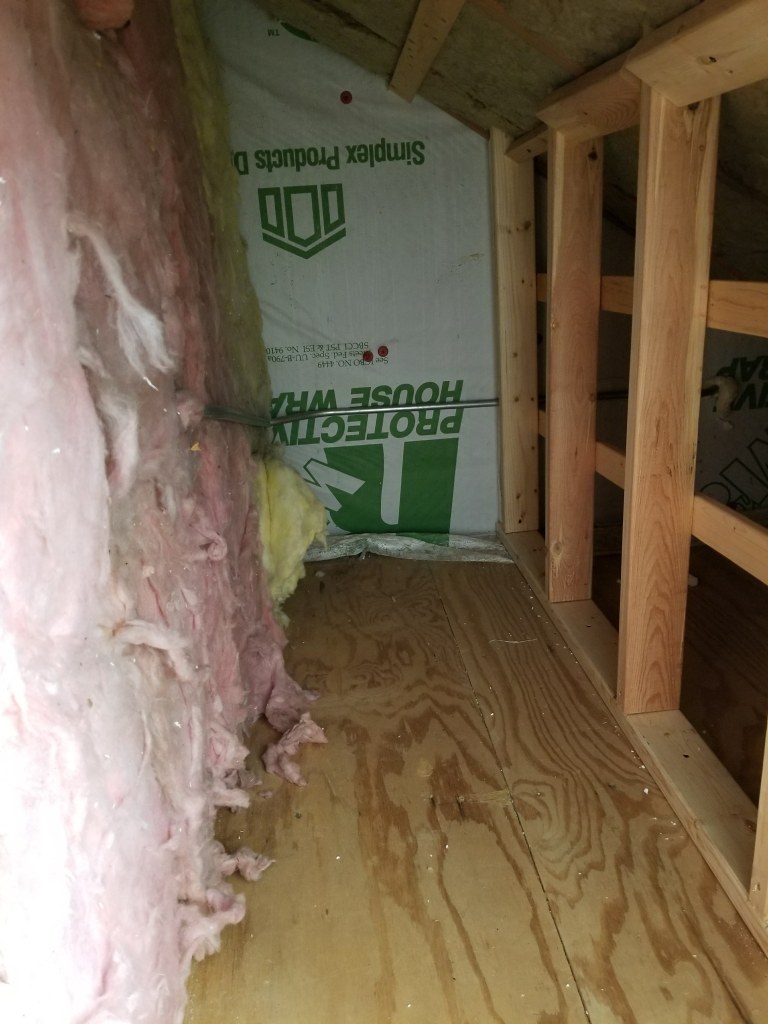
First step was opening up the walls and blowing in additional insulation between the batt insulation that had settled and the floor. To do this, I rented a blower from Lowes, and then rigged a flexible pole that allowed me to push the blower hose fairly far into the floor joist cavity under the master floor. I was able to blow insulation in each cavity past the point where the garage overlaps with the bedroom.
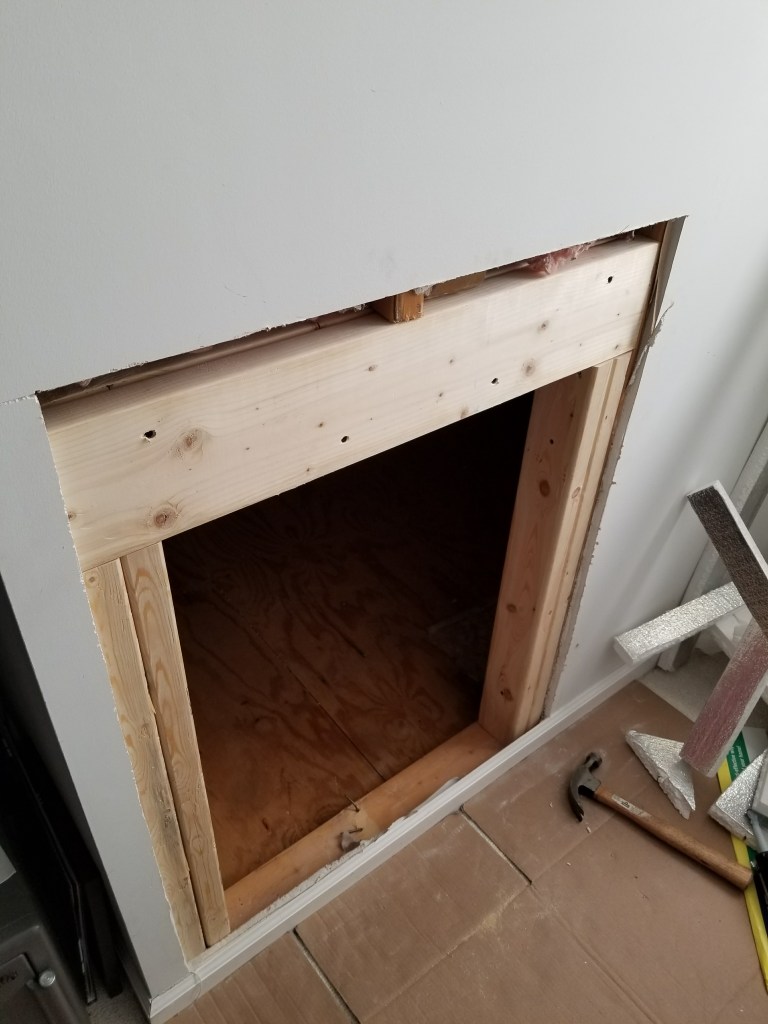
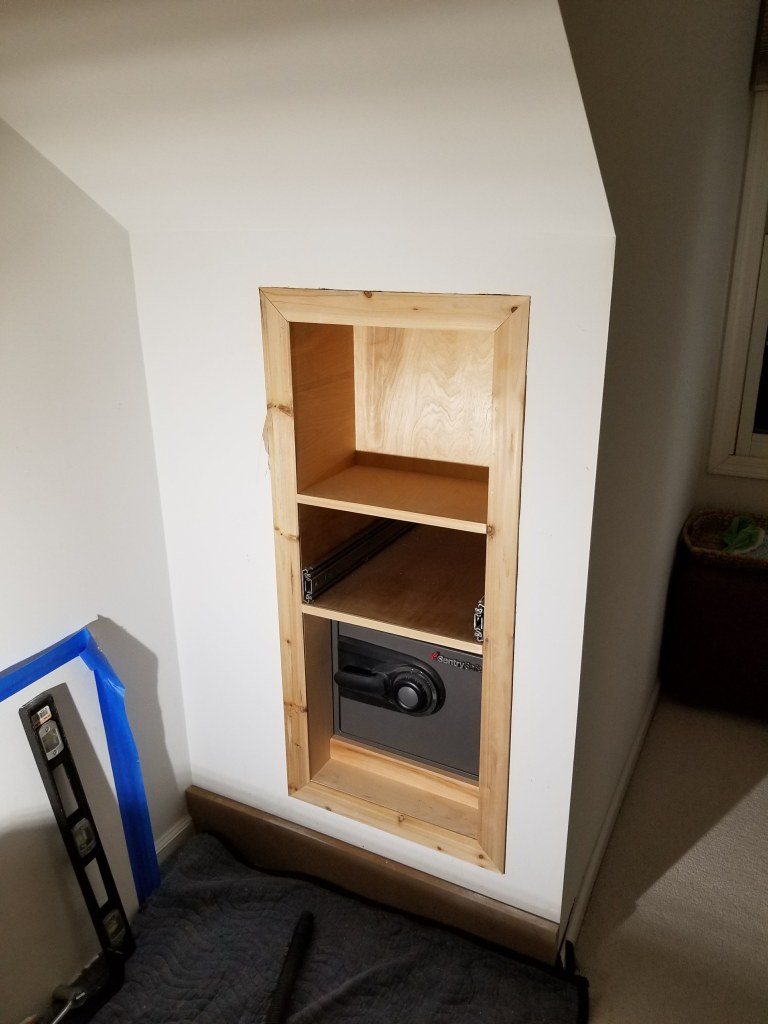
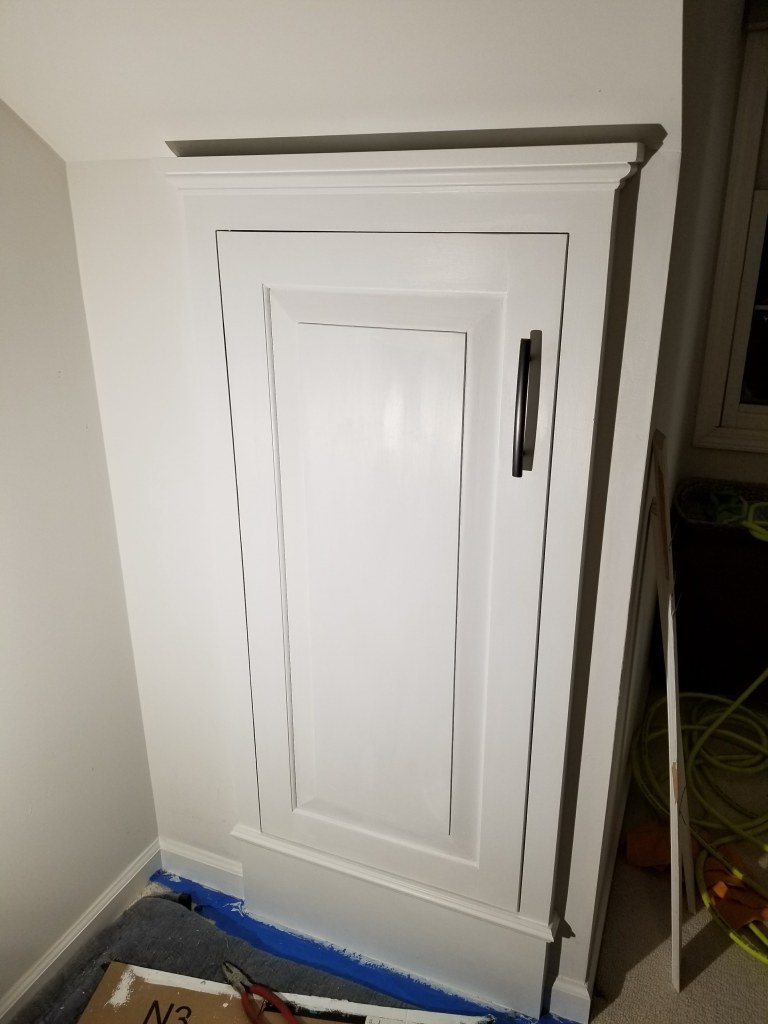
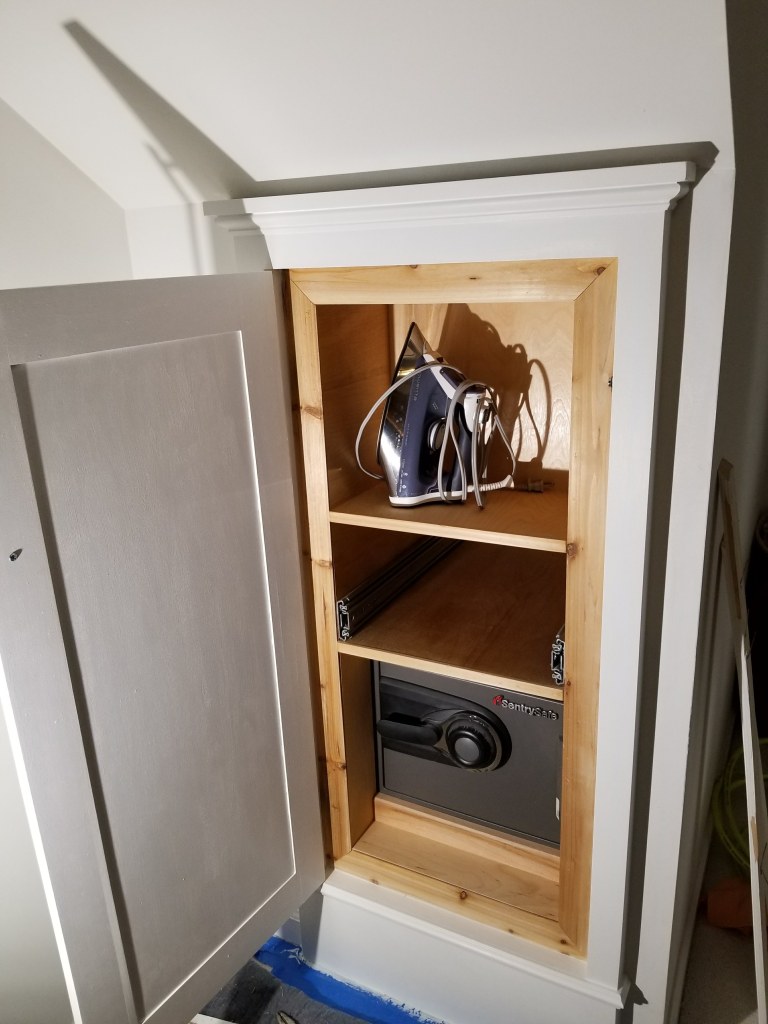
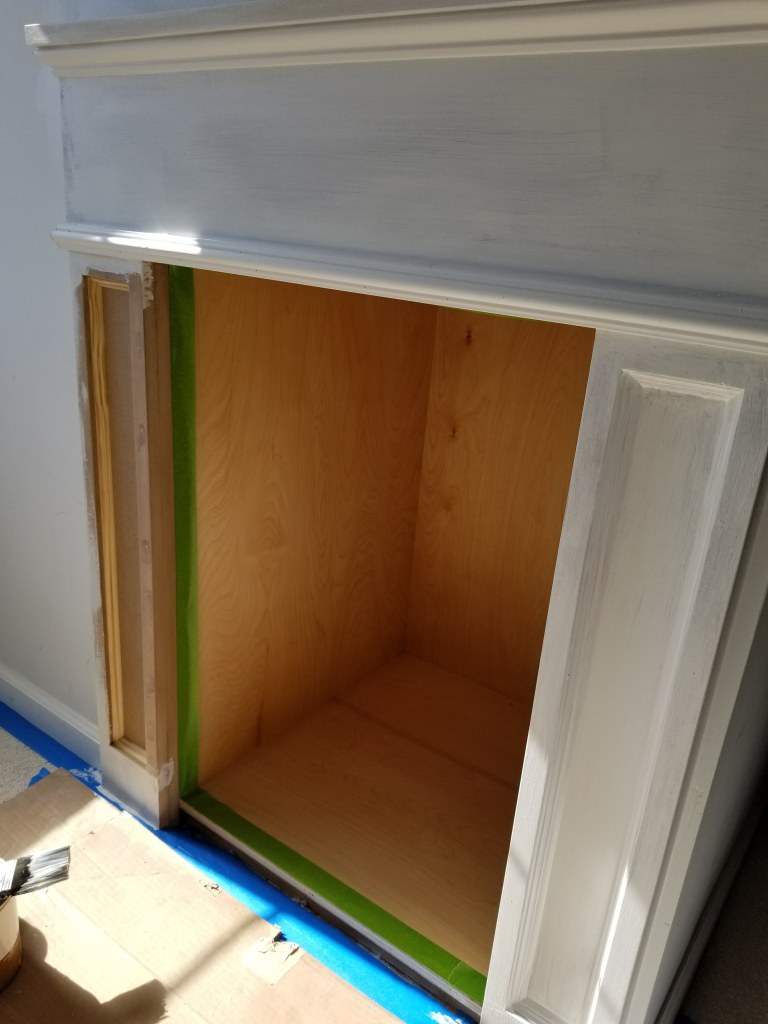
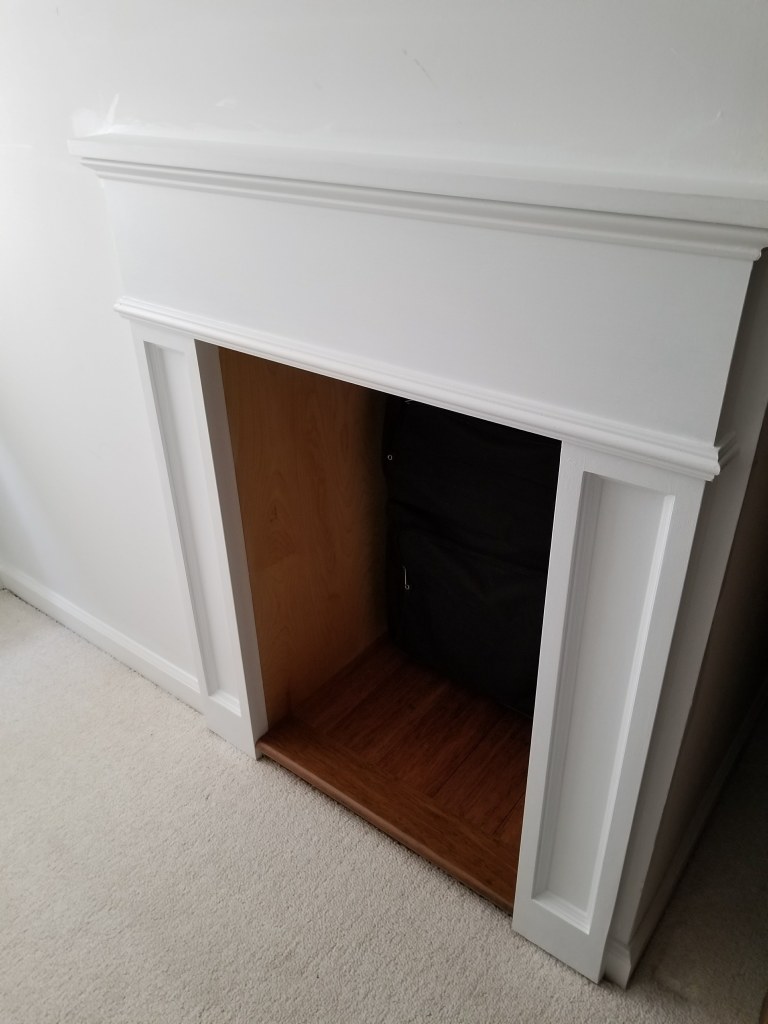
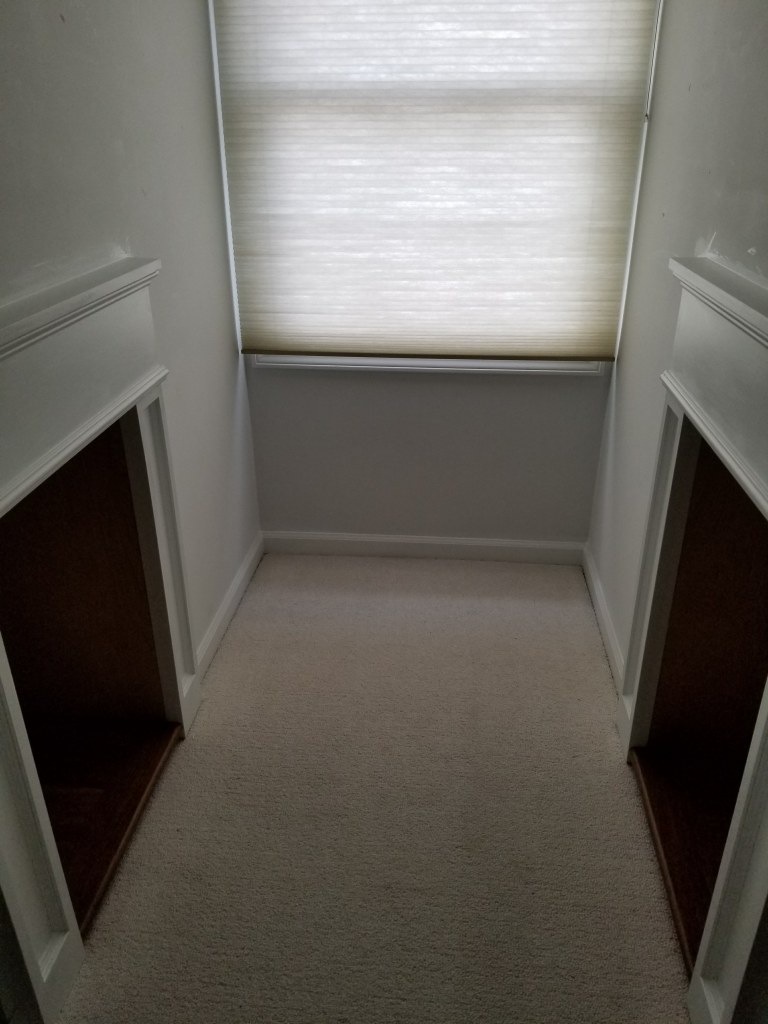
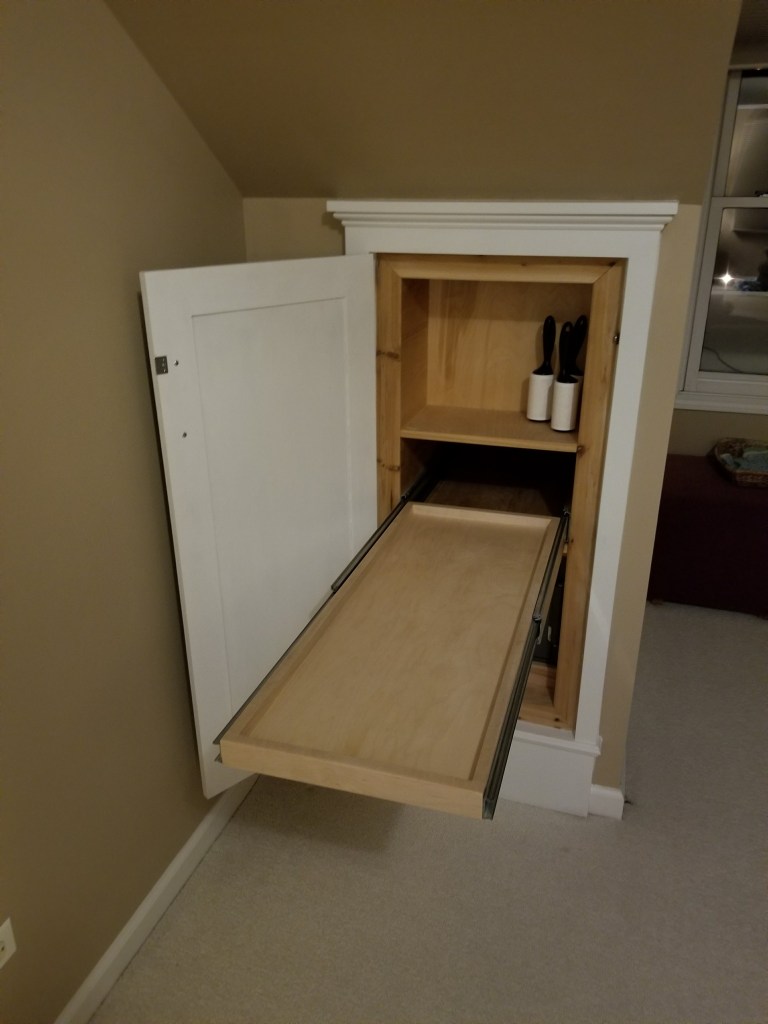
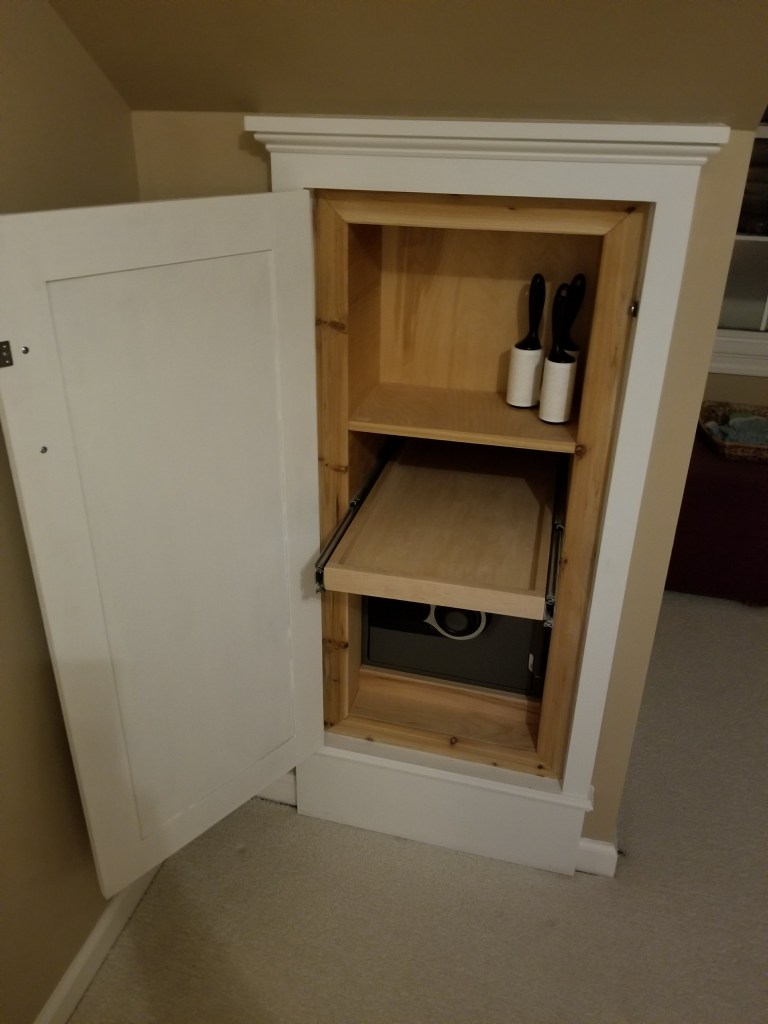
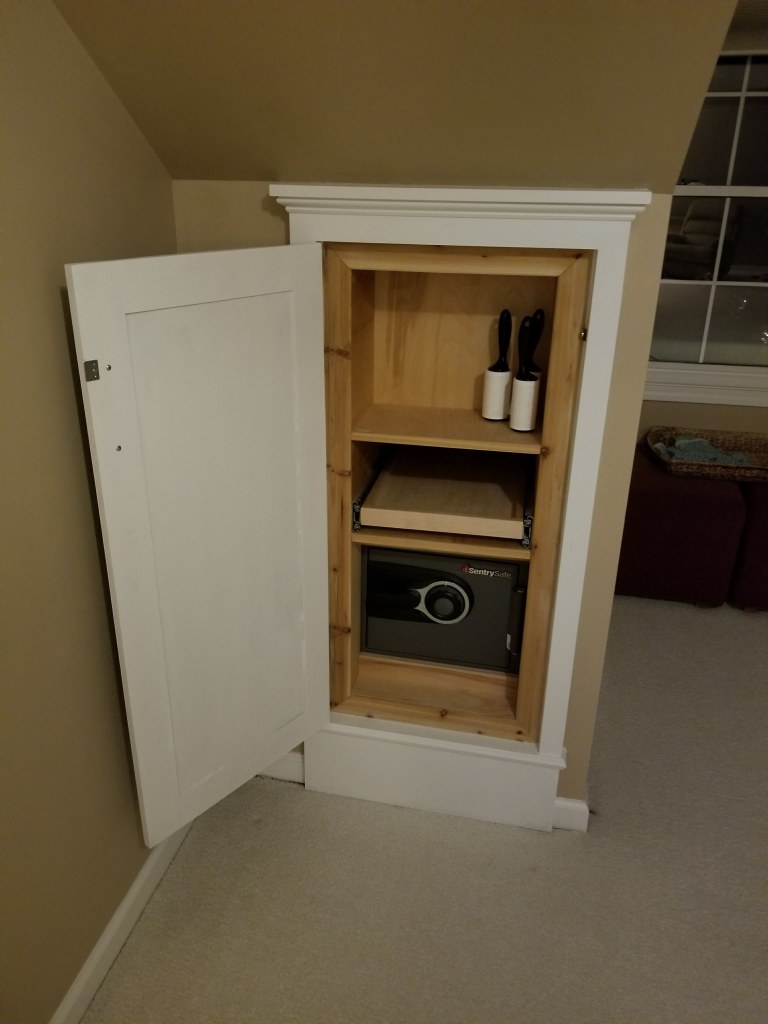
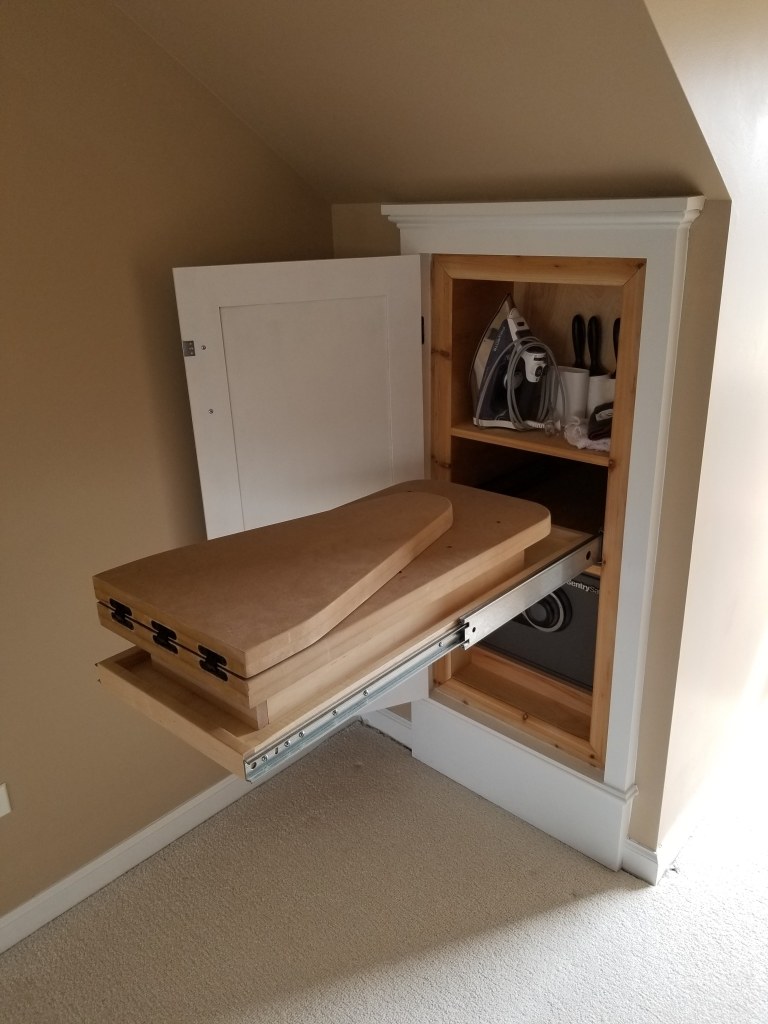
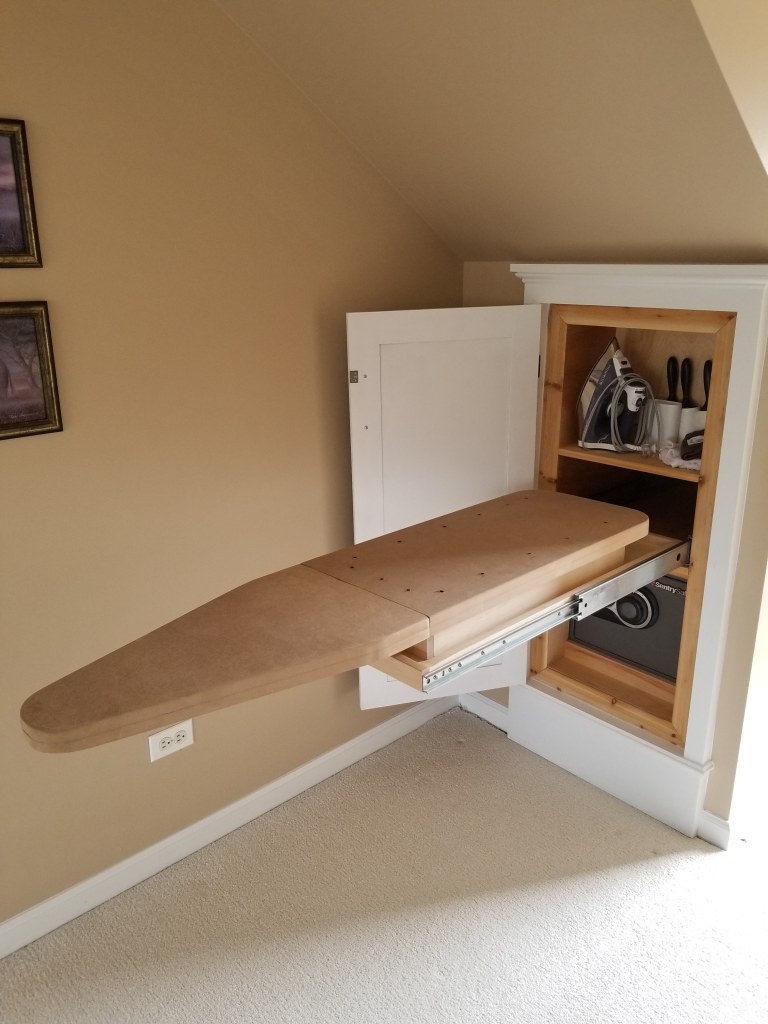
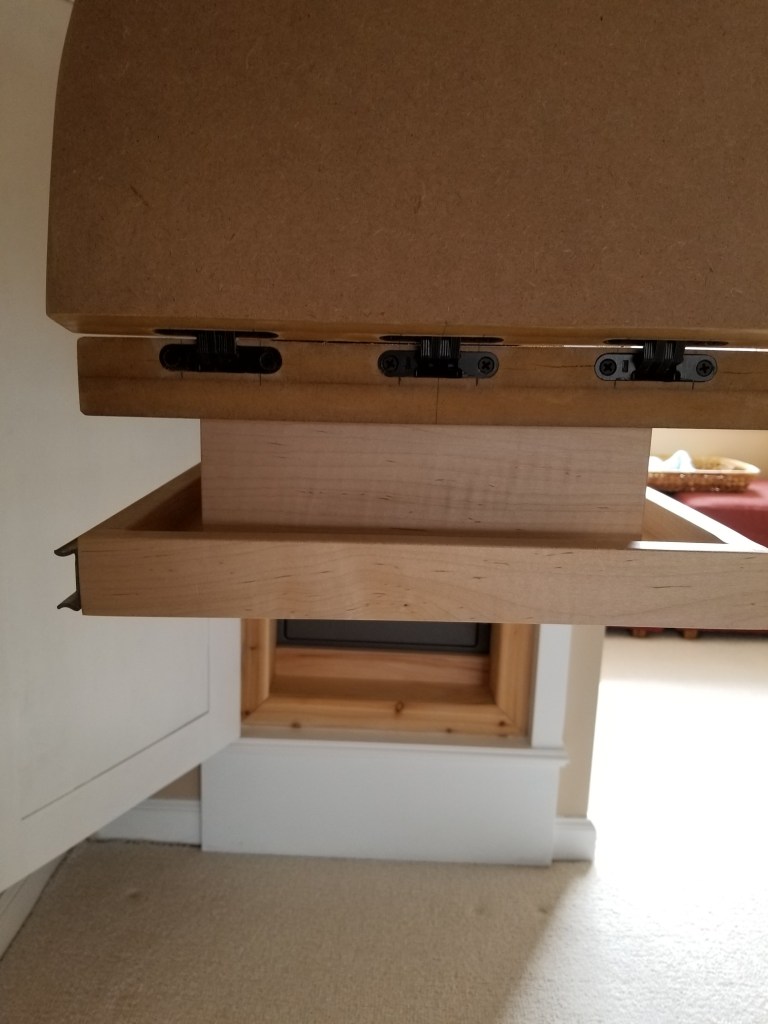
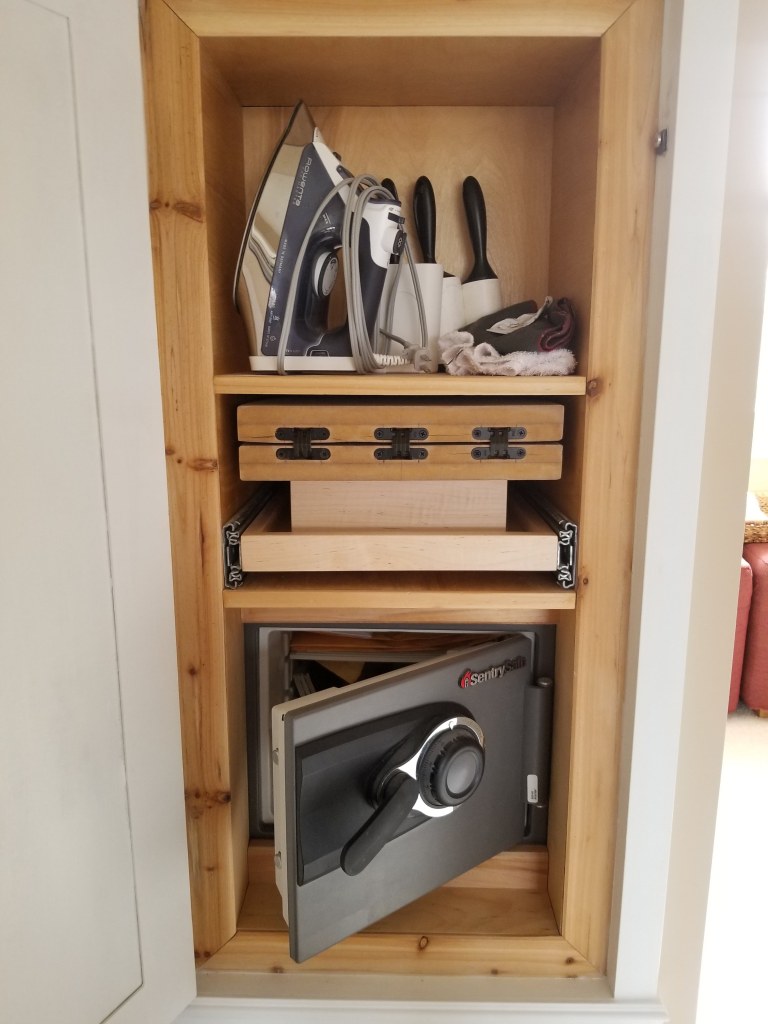
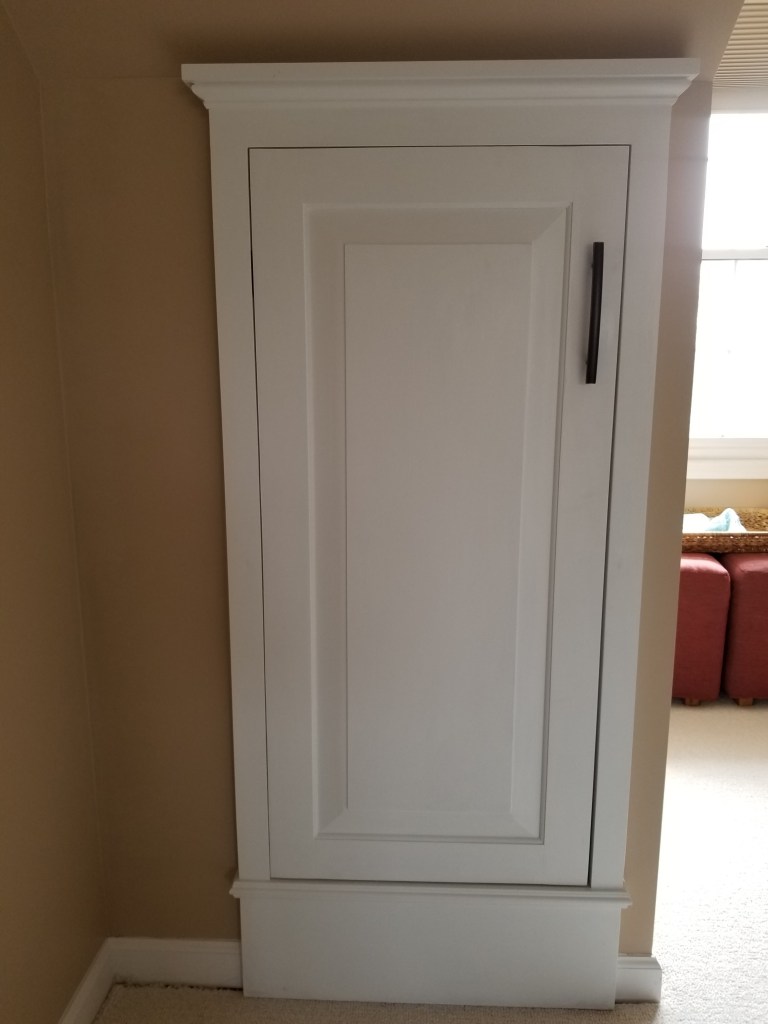
With that step taken care of, I began to frame out the inside of the dead space under the roof to accommodate the new niches, and the ironing board cabinet. The new niches would be birch plywood, and would be trimmed with white columns and a crown to add to the finish look. The Ironing board cabinet morphed into also being a place to permanently install our fire safe out of the way. Finally, the ironing board would recess into the wall using 3 ft. full extension ball bearing slides with a 500 lb. capacity, just in case anyone decides to stand on it. The ironing board itself was hinged with SOSS 204 Hidden Hinges. I bought the jig to route these in, as I intend to use these hinges on other projects, they are nice and strong.
The completed project solves multiple problems—insulation makes our master bedroom much more livable. The extra storage is perfect for our suitcases and travel bags when not in use. And finally, we have a built in solution to functionally hide our ironing board when not in use, yet still make it easily accessible.